


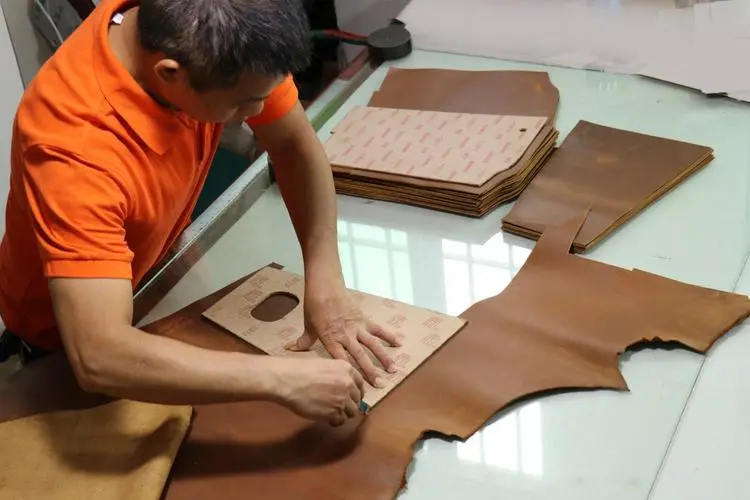
Backpacks are essential for carrying our belongings comfortably and conveniently, whether for school, work, or travel. Making your own backpack not only allows you to customize it to your needs and style but also gives you a sense of accomplishment and creativity. In this DIY guide, we’ll take you through the step-by-step process of making a basic backpack from scratch.
Materials Needed
Before you start, gather the following materials:
Fabric (canvas, nylon, or any durable material of your choice)
Lining fabric
Foam or batting for padding (optional)
Zippers and/or buckles
Sewing machine and thread
Scissors
Measuring tape
Pins
Iron and ironing board
Pattern (you can create your own or use a pre-made one)
Steps to Make the Backpack
Step 1: Prepare the Pattern
1.1 Begin by creating or obtaining a pattern for your backpack. You’ll need separate pieces for the front, back, sides, bottom, straps, and any additional pockets.
1.2 Cut out the pattern pieces from your chosen fabric, making sure to include seam allowances.
Step 2: Prepare the Straps and Handle
2.1 Cut out two long strips of fabric for the shoulder straps and one shorter strip for the handle.
2.2 Fold each strap and the handle in half lengthwise, right sides facing, and sew along the long edge. Turn them inside out to hide the seams.
Step 3: Assemble the Main Body
3.1 Start by sewing the front and back panels together along the sides and bottom, right sides facing. Leave the top open for now.
3.2 Attach the bottom piece to the assembled front and back panels, ensuring it lines up correctly.
3.3 Sew the lining fabric in the same manner as the outer fabric, leaving a small opening to turn it right side out later.
Step 4: Add the Straps and Handle
4.1 Attach the shoulder straps to the top corners of the back panel, ensuring they are securely stitched.
4.2 Sew the handle to the top center of the back panel.
Step 5: Create and Attach the Zipper
5.1 Cut out fabric pieces for the zipper placket and zipper pocket (if desired).
5.2 Sew the zipper placket to the top opening of the main body, right sides facing, leaving space for the zipper.
5.3 Attach the zipper to the placket, then sew the zipper pocket to the lining fabric if you’re including one.
Step 6: Finish and Assemble
6.1 With right sides together, sew the main body and lining together along the top edge, sandwiching the straps and handle in between.
6.2 Turn the backpack right side out through the opening in the lining. Hand-stitch the lining opening closed.
6.3 Add any final touches such as buckles, decorative elements, or extra pockets as desired.
Congratulations! You’ve just made your own backpack from scratch. Feel free to personalize it further with embroidery, patches, or other embellishments to make it uniquely yours.
Tips and Tricks
Use heavy-duty thread and reinforce stress points like strap attachments for durability.
Experiment with different fabrics, colors, and patterns to create a backpack that suits your style.
Practice good sewing techniques such as backstitching at the beginning and end of seams to prevent unraveling.
Now that you know how to make a backpack, you can unleash your creativity and make backpacks for yourself, friends, or even start a small business selling handmade backpacks. Enjoy your new skill and functional accessory!
